Search This Blog

Tuesday, August 12, 2014

Detroit Coney Sauce has no Tomatoes

Ok so here is another recipe that while not from Helen Reilly is still worth a good investigation as I consider it one of those recipes that everybody has "right" but then again everybody also has "wrong":  Coney Sauce

The origins of the coney are many and several restaurants would argue that they were the first to make it.  In short, it did not originate in Coney Island, New York however Coney Island is a significant landmark for the origin of the hot dog in the US, but that's a topic for another day.

Traditionally, a Coney Hot Dog (at least for the dogs of Michigan origin) begins with a grilled natural casing Koegel hot dog, placed in a steamed bun (some say it must be an Aunt Millie's brand hot dog bun), which is topped with Coney Sauce (not to be confused with chili), then covered with diced onions and yellow mustard.  While it can be debated who needs to make the bun or even the hot dog itself, the thing that makes a Coney truly unique is the sauce.  It seems that every Coney Island Restaurant identifies themselves with their unique flavor of sauce.  There have even been several books published on the subject and it has been the topic of facebook discussions and who knows what else.  My curiosity with the whole subject came about because my lovely wife was born and raised in the great state of Michigan and since we've been married we've lived in Minnesota and now in Indiana and our only chance to get good coney sauce has been when we've gone back to the Detroit area to visit her parents.  One of the local restaurant chains (National Coney Island) does make, and ship, a "make your own" coney kit which includes their sauce, and while we've tried it, it's just not our favorite.

So anyhow, I took it as a task to research and figure out how to make Coney sauce.  In my research I found that to just make Coney sauce is quite ambiguous.  You have to know what kind you want to make: there's Flint style (which contains ground up hot dogs), Detroit Style (some say the "original Coney sauce), it can be made with beans, or without beans, and even within those there are variations from restaurant to restaurant.  So what did I want to make?  After looking into my wife's favorite coney restaurant Phoenix Coney Island the type of sauce closest to that is good old classic Detroit Coney Sauce.

So what makes Detroit Coney Sauce "Detroit Coney Sauce"?  Well as it turns out simplicity and quality ingredients, which is great since I like simple.  Detroit Coney Sauce consists of ground beef, onions and spices simmered over a stove for several hours.  That's it, it contains no beans and especially no tomatoes.  No tomatoes is key here.  From what I found if you have a recipe for "Detroit Coney Sauce" that calls for tomatoes, tomato paste, tomato juice, or anything else with tomatoes in it then your just making chili sauce.  "Real Detoit Coney Sauce has no tomatoes".

SIDE NOTE: in my research I also found that "original" Detroit Coney Sauce may also contain beef heart which while that might be the case, I refused to put that in my sauce.  I suspect that it would alter the flavor a bit (although I'm not sure how much having never knowingly ate beef heart).

So simplicity, good I can handle that.  What else...water.  Water is another key component that makes the sauce a sauce.  As I mentioned earlier, Detroit Coney Sauce is not what most Americans would call chili.  It's much more runny than chili and in all honesty would be more like a soup if eaten by itself.  So water is key to make that consistency.

Ok so research aside, on to my recipe for Detoit Coney Sauce...First, beef and water.  I use about 1 pound of ground beef and as I said earlier the key is water.  So start by taking the raw ground beef, putting it in a bowl and covering it with water (about 2-3 cups) and stir until it's broken up.  It will look something like this:
I know raw beef and water looks bit gross, but it's a necessary evil.  Let this sit in the fridge for about 30 min before you move on to cooking.

Before cooking, drain the water off the meat.  There will still be some water probably that has soaked in, which is OK, so don't try to press any extra out.

Onions, 1 onion per pound of meat, cooked in a pot with a little bit of oil until soft.
Onions cooking away...

Spices: This seems to be where each person, restaurant, etc. bring their own take on the sauce.  For the most part, everybody seems to call for chili powder, paprika, garlic powder, salt, pepper, and cumin.  I decided to add a little extra spices to give it some more flavor (check out the full recipe below).

Once the onions are soft, add the meat and the spices and simmer for at least 2 hours.  Check it every 15 min or so as you will probably have to add some water to prevent it from burning.

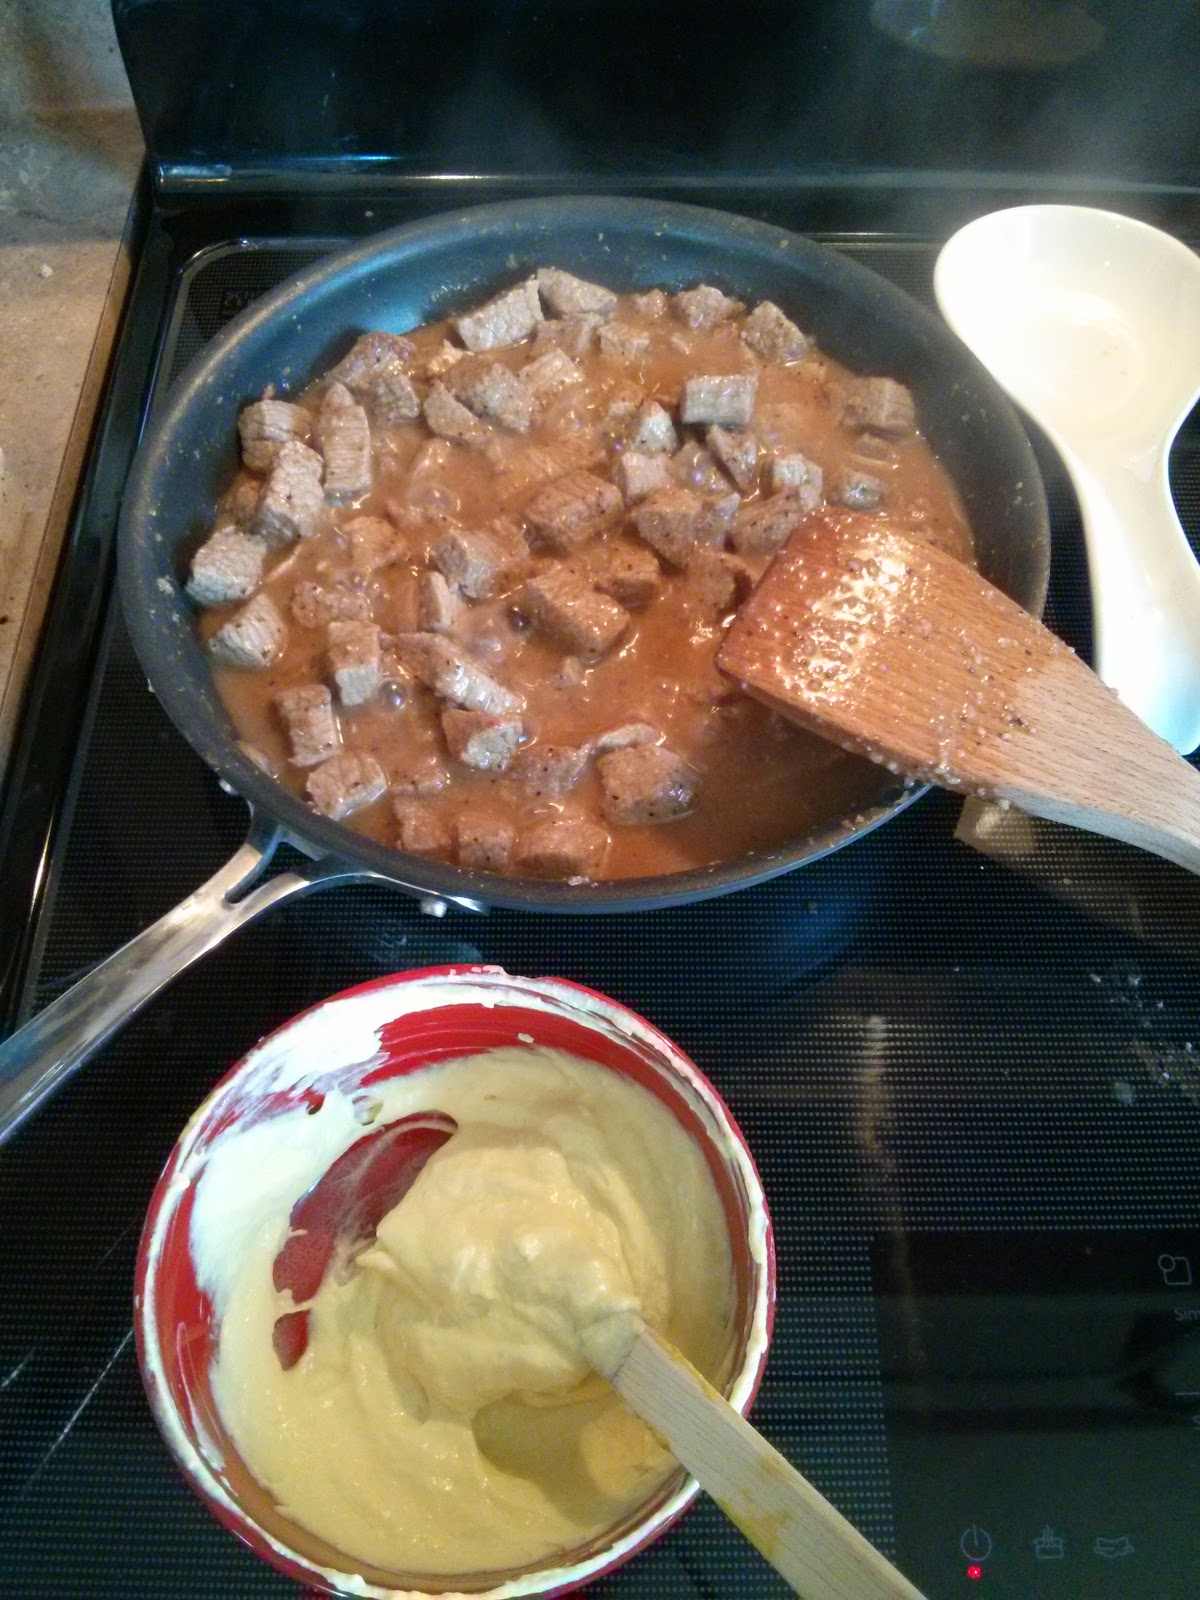
After simmering for 2 hours, you get something that looks like this:
Pretty runny and very meaty.  The spices all kind of meld together and the resulting sauce is really that, a sauce, not a dish to be eaten by itself, but condiment to be added to other things.

When all is said and done here is my recipe for Detroit Coney Sauce:

Ingredients:
1 lb Ground beef
3 cups Water, or enough to cover the beef
1 Onion, diced
1/3 cup Chili powder
2 tsp Paprika
1 tsp Black pepper, coarsely ground
1 tsp Garlic powder
1 tsp Cumin powder
1 tsp Allspice
1 tsp Basil, dried
1 tsp Salt
1/2 tsp Oregano, dried

Directions:
1) Cover the ground beef with water and stir until the beef has broken up into small pieces.  Refrigerate for 30 minutes.
2) Cook onion in a pot with a little oil until soft
3) Drain the beef
4) Add beef and spices to the pot
5) Bring to a simmer and cook for at least 2 hours

Makes about 10 servings

So now what do you do with this great sauce once you have it made?  The most obvious is to make a classic Detroit Coney Dog by grilling some natural casing hot dogs, steaming some buns, and topping with the sauce, diced onions, and yellow mustard.  

For me and my wife, we really enjoy the coney omelette.  How do you make that?  Glad you asked:

Coney Omelette:

Ingredients:
2 Eggs, scrambled
1/2 Onion, diced
1/2 Green pepper, diced
Salt and Pepper to taste
1/4 cup Shredded cheese
1/2 cup Detroit Coney Sauce

Directions:
1) Cook onion and pepper in a non-stick skillet until soft
2) Season with salt and pepper
3) Add eggs and cook until solid
4) Remove from heat and top with cheese
5) Fold omelette in half and top with coney sauce

Goes well as breakfast, lunch, dinner, or a snack.

Saturday, August 9, 2014

Caramel Sand Tarts

Ok so this is probably the trickiest of Helen's recipes that I've come across.  I'll jump right in with the paper clipping so you can get an idea of what I mean:

The first thing that comes to mind is what paper is this written on?  In all honesty it looks like the combination of a card game score sheet and a grocery list with a list of ingredients in the middle.

If you look closely at the ingredients list it kind of looks like there is some sort of cookie or crust (butter, b sugar which I assume means brown sugar, and flour).  Then there is something that looks like some sort of filling (eggs, salt, b sugar again, vanilla, baking powder, and more flour).

Ok so I happen to know from some previous research that real shortbread consists of just three ingredients: flour, butter, and sugar in a ratio of 3:2:1 (by weight).  Two cups of flour weighs about 8 oz, 1 cup of butter 8 oz also, and 1 cup brown sugar is also about 8 oz (a little less).  So while 1:1:1 maybe a bit rich in sugar and butter compared to the flour but still probably a cookie of some sort.

You may have noticed that in between the ingredients are some instructions (beat, press in pan, bake 20 min at 325).

Beat what? I tried "beating" the crust and well it was a bit thick but it was the consistency of a soft shortbread which could easily be pressed into a pan.  It was about enough to fill a 9x13 pan.  So, the next question is do I cook the cookie before working with the rest of the ingredients.  I figured that given where the instructions were in the recipe, I'd try that.

Ok so what is the filling?  With the large amount of eggs and sugar, this looks like it could be some sort of custard, but custard typically calls for cream or milk or some sort of dairy.  Well who I am to argue with Helen so I just creamed everything together with mixer and then added the flour and the baking powder at the end.  The result was a kind of thick sugary filling which looked a lot like pecan pie filling without the pecans.

So pouring this filling over the cooled cookie crust and backing (again at 325 for another 20 min or so) gives something that looks like this:


Here it is again after it's cooled and removed from the pan.


The cooked crust does look and taste a lot like a shortbread.  The filling turned out to be not a custard at all but a sticky super rich caramel.

Here are the "cookies" cut apart on a plate:

Close up shot:

When all is said and done, I'm not really sure this is 100% correct but they certainly taste good.  I later found out that this recipe is most likely a version of sand tarts (a Google search brings up a bunch of different recipes none of which are exactly like this one but some are close).  This brings me to conclude a couple things:
1) The crust should be precooked but probably in a tart pan. 
2) This was probably more intended to be made as individual tarts by using a muffin tin and pressing a bit of crust in each cup later topping with the filling.

At any rate, feel free to experiment.  Here is the recipe for what I ended up with in this posts images:

Ingredients:
Crust:
1 c. Butter
1 c. Brown Sugar
2 c. Sifted Flour

Caramel Filling:
4 Eggs
1 tsp. Salt
2 c. Brown Sugar
2 tsp. Vanilla
1 tsp. Baking Powder
4 tbsp. Flour

Directions:
1) Preheat oven to 325 degrees F.
2) To make crust cream together butter and brown sugar.
3) Add sifted flour and stir until combined
4) Press into a greased 9x13 baking pan
5) Bake for 20 minutes.
6) To make the filling cream together eggs, salt, brown sugar, and vanilla
7) Add baking powder and flour and stir until combined.
8) Pour filling over crust and bake for 20-30 minutes more.
9) Cool, remove from pan, and cut into 1 inch squares.

Makes approximately 3 dozen

Monday, July 28, 2014

Mrs. Anderson's Spiced Fig Bars

Here is a recipe with quite a bit of mystery to it.  I'll start right off the bat with the recipe clipping from Helen's breadbox:

The first mystery is that this recipe doesn't really give much indication as to what it is.  I mean there is a nice divided list of ingredients and the main portion of the instructions are there, but some of the details are missing.  It looks like it has some mixture that would indicate some sort of cake maybe, but there is a fig filling with a lot of sticky fruit which kind of throws me off a bit.

The second mystery is Mrs. Anderson from Caseville, Michigan. Was she a friend of Helen Reilly?  Maybe.  A quick web search results in a couple Mrs. Anderson's in the Caseville area, but I don't really have much of a way to verify who this might be.  Finding Mrs. Anderson is another investigation in it's own right.  Maybe I'll figure it out some day.  But for now, onto the recipe.

So for the most part, ignoring the filling, this looks like it could be a muffin or another coffee cake.  The directions "pour water over cocoa..." are a little unfamiliar to me.  I assume this probably just means to mix the water and the cocoa first, then add the honey and eggs prior to mixing with the rest of the ingredients.  This, in all honesty, reminds me of the muffin method so that's another good sign that this is some sort of muffin.

Next, the filling.  First, it calls for 1/4 citron which I interpret to actually mean 1/4 cup of candied citron peel which is a popular ingredient in fruit cake.  I assume the same unit is used for the raisins (1/2 cup instead of 1/2 of a raisin which wouldn't be much at all).

So ingredients and proportions solved (more or less) onto mixing.  Mixing the dry and wet ingredients together via the muffin method yields a batter that is actually pretty thick, more like a cookie dough almost.  Looking back at the recipe I noticed that there really wasn't much water at all compared to the dry ingredients.  So, this probably should have been mixed via the creaming method as it's probably more of a bar than a muffin.  That being said, when you take the filling into consideration this is probably a fig cookie, kind of like those popular soft fig sandwich type cookies (sorry "fruit and cake").

For the filling, I put everything into my food processor (probably not what Mrs. Anderson originally intended but it works) with a little hot water (per the recipe) and sent it for a spin until it turned into a sticky, thick mash.

Rather than making individual cookies out of it, I decided to layer it in a pan.  Here is what it looked like after coming out of the oven:

That's layering 1/2 of the dough, then all the fig filling, then the other 1/2 of the dough.  Finally baked at 350 degrees F for about 35 minutes.  Looks OK to me.

After cutting into bars, they look like this:
I have to say they look (and taste) pretty good.  Not really super sweet, but sweet enough for a dessert bar.  So Mrs. Anderson, wherever you may be, thanks for a great fig bar recipe.

Here is my final take on the recipe:

Ingredients:
Bars:
2 1/2 c. Flour
1 tsp. Baking Soda
2 tsp. Cinnamon
1/4 tsp. Ground Cloves
2 tbsp. Cocoa
3 tbsp. Water
3 tbsp. Honey
1 Lemon

Filling:
1 c. Figs
1 c. Nuts
1/4 c. Citron
1/2 c. Raisins
1 tsp. Lemon Juice


Directions:
1) Preheat oven to 350 degrees F.
2) To make the spiced bar dough mix flour, baking soda, cinnamon, and cloves together and set aside.
3) Mix cocoa and water together in a large mixing bowl.
4) Add honey and stir until combined.
5) Add eggs one at a time and cream until well blended.
6) Add the zest of the lemon and the juice from ½ of the lemon and stir until combined.
7) Add the flour mixture and stir until combined. The mixture will resemble a wet cookie dough.
8) Chill for a least an hour before using.
9) For the filling, place figs, nuts, citron, raisins, and lemon juice in a food processor and process until a think
paste is formed. Add a little hot water to the mix if it is too dry.
10) Press ½ of the bar dough into a 9x9 pan.
11) Press the filling over the dough
12) Top with the remaining bar dough and press to cover the filling.
13) Bake for 35 min until a toothpick inserted into the center comes out clean. The filling will still be soft and may stick to the toothpick.

Makes approximately 2 dozen servings

Friday, July 25, 2014

Real beef stroganoff has no mushrooms

So this one is for my good friend Jon who has a great fondness for meat, but despises mushrooms and as such never orders beef stroganoff at a restaurant.

This recipe investigation is not part of Helen's breadbox, but I wanted to share it with you nonetheless.

Anyhow, beef stroganoff, defined as "sauteed pieces of beef served in a sour cream sauce"...plain and simple.  According to Wikipedia the first printed version of the recipe was in "A Gift to Young Housewives" by Elena Ivanovna Molokhovets first published in 1861 which calls for floured beef cubes cooked with bouillon and finished with a sour cream and mustard sauce.  So, I figured, "I can do that".  Here are the results of my research.

The Beef:
I used eye of round, particularly because I like the taste of it and it's a great cut of beef for stewing.  One could just as easily purchase pre-cut stew meat for a less labor intensive version.  Which ever way you go is fine.

Here is my roast before cutting:

And here it is after cutting into cubes: 

I had about 2 pounds of beef cubes when all was said and done.  Unseasoned beef really doesn't have much flavor so I seasoned it with sea salt and black pepper and put the cubes in the fridge for a couple hours to let the flavors develop.

Cooking:
About 30 minutes before dinner I started cooking.  The recipe calls for floured beef, but I had to stop and think about that for a minute.  Knowing my flour history (I'm a bread baker and kind of a foody) I figured that back in the 1860's white flour, specifically all-purpose flour, was probably not as readily available as it is today.  European flour (I know Russia isn't 100% European) is also rated completely differently than flour in the U.S. so even today what American's would call all-purpose flour really doesn't exist over there.  At any rate, I figured the flour that was used for the original recipe was probably some sort of whole meal flour, either whole wheat or rye or something like that.  So, I dug deeper and found the Russia produces a lot of rye.  In fact Russia produced 3.6 million metric tons of rye in 2005 [Wikipedia page on Rye] more than any other nation.  That was good enough reason for me to use rye flour.  For 2 pounds of beef I used about 1/4 cup of rye and mixed it until combined.

Looks nice and rustic to me.  Now on to cooking.  I sprayed our largest nonstick skillet with some olive oil, heated it to medium heat (that's number 5 on my fancy induction stove for those playing along at home), and began cooking the beef cubes.

After 10 min or so of cooking the meat was nice and browned.
On a side note, I don't know if it was the meat or the rye cooking or what, but this smell reminded me of the smell of a McDonald's.  You can take that as you will, but it was a pleasant smell to me.

Anyway, next comes the broth.  I used 1 cup of beef broth made from 1 cup of boiling water and our powdered beef base that we had in our pantry.  When I added it to the mix it immediately started to thicken from the cooked rye flour that was still in the pan.  Here is the meat with the broth next too the sour cream and mustard mix (more on that in a minute).

Once the broth thickened a bit and the beef was cooked through, I added the sour cream and mustard mix which consisted of 1/2 cup of sour cream and about 2 teaspoons of mustard.

A side note on mustard, make sure you use good quality mustard.  While I'm sure a cheap mustard would still work (the world isn't going to end because you used cheap mustard), you can really taste the difference of a good quality mustard.  Here I used Hengstenberg medium hot which we got at a small specialty meat market.  It's also available on Amazon and I know you can get it at Meijer too if you have those in your area.

Ok so add sour cream and mustard mixture and cook for 5 min or so until a nice thick sauce forms.
And there you have it, beef stroganoff with no mushrooms.  I have to say it tastes pretty awesome.  Not too spicy, but has a little kick from the mustard.  You could also add some horseradish to the mix if you wanted it to have more of a kick.  Here is the final recipe:

Ingredients:
2 lbs. Beef cut into cubes
1 tsp. Salt (more or less to taste)
1/2 tsp. Black pepper (more or less to taste)
1/4 cup Rye flour
1/2 tbsp. Oil
1 cup Beef broth
1/2 cup Sour Cream
2 tsp. Mustard (good mustard)

Directions:
1) Season the beef with salt and pepper and place in the refrigerator for at least 2 hours.
2) Heat the oil in a large skillet over medium heat.
3) Mix the rye flour and the beef cubes together and cook in the skillet until browned.
4) Add the beef broth and cook until it has started to thicken and the beef is cooked through.
5) Mix the sour cream and mustard together and add to the skillet.
6) Cook for 5 minutes until the sauce is thick.
7) Let cool for a few minutes before serving.

Serve with rice, noodles, or by itself.

Makes about 4-6 servings.

Tuesday, July 22, 2014

Chocolate Cake with Ethel Dodge's Rum Custard Filling

So it's been a while.  My lovely wife Pam and I took a nice week long trip to northern part of Michigan.  Spent 2 nights in Petoskey and 2 nights in Traverse City.  Picked cherries, saw the sites, and bought quite a bit of great Michigan made products.

Anyhow, back to the recipes...Ethel Dodge, whom I can only assume was a friend of Helen Reilly, had a wonderful recipe for chocolate cake.  Here is the clipping of the recipe:


This recipe is actually written on both sides of the paper.  You can see from the ripping portion where one side lines up with the other.  You can also see the pen leaking through the paper.  While it's a little hard to read, the recipe itself is fairly straight forward.  It's just lacking in a bit of instructions.  So, using the creaming method to mix the cake dough yields a batter that looks like this:


Looks like cake batter to me.  The amount fills two 8 inch round cake pans about half full.  Maybe slightly less than half full, but it is certainly more batter than will fit in a single pan.


When baked, the cakes look like this:

Again, not a bad looking cake.  It's not really thick, but when you add the custard filling (more details on that in a second) having a thinner cake is probably better anyway.

That leads me to the custard filling.  Ethel Dodge didn't seem to give a whole lot of details on how to make it, but there is enough there.  I found the key to making it well is to make sure you use a double boiler and also mix continuously.  If you have a nice whisk that helps quite a bit.  It will take a while (at least it took me long enough for my hand to get tired) before the filling is nice and thick.

Once I had the filling made, the next step was figuring out how to put it on the cake.  Since it specifically says "filling" I didn't want to use it as a coating like frosting, but if there is no frosting, then what do you put on the outside?  I wasn't really sure so I compromised.  I cut each cake in half (making 4 layers), and filled each one, finally covered the top with the remaining filling.  The result was this cake:

Pretty nice.  The custard filling is pretty rich and creamy (I can only assume that's from the eggs whipped with the sugar).  The rum added a nice flavor and it wasn't really a strong alcohol flavor either which I assume was from the fact that you cooked it over the double boiler.

Anyhow, here is the final details of the recipe as I made it.  Thanks to Ethel Dodge, where ever you may be, for a wonderfully tasty custard filling.

Chocolate Cake with Ethel Dodge's Rum Custard Filling:

Ingredients:

Chocolate Cake:
1/2 c. Shortening
1 1/2 c. Sugar
2 Eggs
1 tsp. Salt
1 tsp. Vanilla
1 c. Buttermilk
2 c. Flour
2 squares Unsweetened Chocolate
1 tbsp.  Vinegar
1 tsp. Baking Soda

Rum Custard Filling:
1/2 c. Sugar
1/2 c. Flour
1/4 tsp.  Salt
2   Eggs
1 3/4 c. Milk
1 jigger Rum


Directions:

For the cake:
1) Preheat oven to 350 degrees F.
2) For the cake, cream together shortening and sugar.
3) Add eggs one at a time and cream until well blended.
4) Add salt and vanilla and stir until combined.
5) Add flour and stir until combined.
6) Melt the unsweetened chocolate squares in the microwave. Pay close attention so it doesn't burn.
7) Add melted chocolate and stir until combined.
8) Mix vinegar and baking soda together (it will start frothing), add to batter, and stir until combined.
9) Pour into two greased 8” round baking pans and bake for 40 minutes.
10) Allow to cool completely before filling.

For the filling:
1) Mix the sugar, flour, salt together in a medium sauce pot or double boiler.
2) Add eggs and heat slowly until well blended.
3) Heat milk in the microwave and slowly add to the egg mixture. Stir constantly until the mixture has thickened.
4) Remove from heat and add rum, stirring until cooled.

To fill, cut each 8” round cake into two layers.  Spread 1/4 of the filling on top of each layer.

Makes approximately 24 servings

Friday, July 11, 2014

Raisin Coffee Cake

So here is another envelope recipe.  Kind of a tricky one, but all in all the trickiest part was figuring out what shape to bake it in.  I'm still not sure that I have it right but it's probably pretty close.  Anyway, here is the envelope:


So looking at the list of ingredients I could tell right away given the amount of liquid compared to dry ingredients that this was a muffin or at least mixed via the muffin method.  So that means, mix all the wet ingredients together, then in a separate bowl mix the dry ingredients together.  Finally add the wet to the dry and mix ONLY TO COMBINE.  It will be lumpy but that's OK.  Finally stir in extras like fruit or nuts then bake.  Sounds pretty easy, but what shape is it supposed to be?  To this day, I haven't figured it out.  For today, it will be a coffee cake.  If anyone tries this in muffin tins and it works out, let me know.

Also, one cup of fat...I suspect that was probably lard given the age of this recipe.  I'm wasn't sure I really wanted to use lard so I decided to substitute shortening, but in all honesty the fat was probably intended to be lard.  You could also sub butter or some other solid fat (coconut oil would also work well).

What I also love about this recipe is the amount of raisins.  One cup or more...I guess it's really up to the baker in this case.  When I made it, I used one cup with worked out pretty good.  I suppose you could add more if you wanted or throw in some nutmeats (hah, nutmeats), too if you like that sort of thing.

Ok so following the muffin method, mixing and baking in a 9x13 pan, you get something that looks like this:

Here is a close up of the cut pieces:

Not bad for a cake shape.  Moist, but the cake came out pretty dense so small pieces are recommended.  I suspect if made in a muffin shape, it would be less dense, but having not tried it myself I can't be sure.

I also have to say that using the applesauce seemed to really help keep the cake moist.

So here is my take on the final recipe:

Helen Reilly's Raisin Coffee Cake (or Muffins):

Ingredients:
1 c. Shortening (or lard, butter, coconut oil, etc.)
2 c. Sugar
2 Eggs
2 c. Applesauce
3 1/2 c Flour
2 c. Oatmeal
2 tsp. Baking Soda
1 tsp. Baking Powder
2 tsp. Cinnamon
1 tsp. Nutmeg
1 tsp. Cloves
1 tsp. Salt
1 c. Raisins

Directions:
1) Preheat oven to 350 degrees F.
2) Mix flour, oatmeal, baking soda, baking powder, cinnamon, nutmeg, cloves, and salt together and set aside.
3) In a large bowl cream together shortening and sugar.
4) Add eggs one at a time and cream until well blended.
5) Add applesauce and mix until combined.
5) Add flour mixture and stir only to moisten.
6) Stir in raisins.
7) Pour batter in a greased 9x13 pan and bake for 35-40 min or until a toothpick inserted in the center comes out clean.

Makes approximately 3 dozen servings

Wednesday, July 9, 2014

Raisin Drop Cookies

This one is a bit tricky.  Looks like Helen grabbed an envelope to write this one down.  Here is a picture of the original recipe:
So a couple of interesting things that I found frustrating right off the bat.

1) 1 1/2 eggs is tough to do.  I know you can measure it out, but what do you do with the other half?  I wasn't about to just throw it away.

2) The recipe calls for 1/2 cup of water, but at the bottom it says "should be 1/4 cup of liquid"...umm...1/2 does not equal 1/4.

3) What the heck is a nutmeat?  I originally thought it must be nutmeg, not nutmeats, but nutmeg is listed immediately above it.

4) What is this a recipe for?  There isn't much liquid so I didn't think it could be a batter.  So, maybe a coffee cake or a scone (the raisins tipped me off there), but nothing about chilled fats or cream so it's probably not a scone.

Ok so some investigation is needed before I mix this one up.

Findings:
1) This one is pretty easy, I'll just double everything.  Looking at the ingredients list it looks like there are a lot of 1/2s in there so doubling the amounts would make a lot more whole numbers anyway.

2) This took a bit of time, but I found a recipe for "boiled raisin cookies" which had similar ingredients and it mentioned boiling the raisins and saving the remaining liquid.  A-hah it must be that you boil the raisins in 1/2 cup of water and reserve 1/4 cup for the final mix.  Mystery solved!

3) nutmeats...nutmeats...nutmeats...it gets funnier every time I say it.  Anywho, as it turns out, nutmeats is just another name for the meat of a nut, as in the part that you eat instead of the part that you don't eat (like the shell).  Ok so I'll just put in whatever nuts I have in the cabinet (walnuts would certainly work just fine).  What I found even more intriguing is that the recipe here calls for only 1/4 tsp of nutmeats.  That's not even an entire nut!  So, I speculate that she meant to write 1/2 cup of nutmeats so that's what I used.

4) Finally the mix, what is this a recipe for.  From my research find the boiled raisins, I found that this is most likely a cookie.

So assembling the recipe as such I got a dough that looked like this:
When spooned on a cookie sheet with my handy dandy disher, it looks like this:
Certainly looks like a cookie to me.  Next step, baking.  A typical chocolate chip cookie bakes at 350 for about 12 minutes so I figured what the heck, I'd do that.  And the results weren't bad at all:
So here is the final recipe after multiplying the ingredients and fixing the amount of nutmeats (hah nutmeats).

Helen Reilly's Raisin Drop Cookies:

Ingredients:
2 c. Raisins
1 c. Water
1 1/2 c. White Sugar
1 c. Dark Brown Sugar
1 c. Shortening
1 tsp. Vanilla
3 Eggs
4 c. Flour
1 tsp. Baking Powder
1 tsp. Baking Soda
1 tsp. Salt
1 tsp. Cinnamon
1 tsp. Nutmeg
1 c. Nuts

Directions:
1) Preheat oven to 350 degrees F.
2) Boil raisins in water for 5 mins, remove from heat and allow to cool.  When cooled strain and reserve 1/2 cup of liquid.
3) Mix flour, baking powder, baking soda, salt, cinnamon, nutmeg, and nuts together and set aside.
4) Cream together shortening and sugars.
5) Add eggs and vanilla and cream until well blended.
6) Add flour mixture and stir well.
7) Add raisins and reserved liquid and stir well.
8) Drop by teaspoon onto cookie sheet and bake for 12 minutes.

Makes approximately 6 dozen cookies.

I can see why she wanted to half the recipe.  6 dozen is a lot of cookies.

So there you go, a little investigation and even a list on an envelope becomes cookies...nutmeats!